
My parents 30th wedding anniversary is right around the corner. Trying to think thrifty, I started brainstorming some decorations that I could make with materials I already owned. Two bloggers inspired this one, the famous Young House Love, and a super crafty high school classmate/teammate Delicious Paper Design. There are many great artists doing this super cute banners, so I thought I'd give it a try.
Note: I didn't have a wall in my house long enough to display it properly, I'll have to wait for the party to take a picture where my parents have a large wall perfect for my length!
Instructions:
1. For those already familiar with the crafting field, look around your (what I assume is large, like mine) collection of miscellaneous craft paper. It just so happens that the same pack of craft paper I used for my wedding invites had the color theme my mom picked out, greens and blues. This pack was on clearance for $5 over three year ago. It just keeps on giving, not only did I make about 120 wedding invites (invitations, info, reply cards, map) out of it, but also the wedding programs, signage, miscellaneous decorations, and now this banner. And it's still not empty!

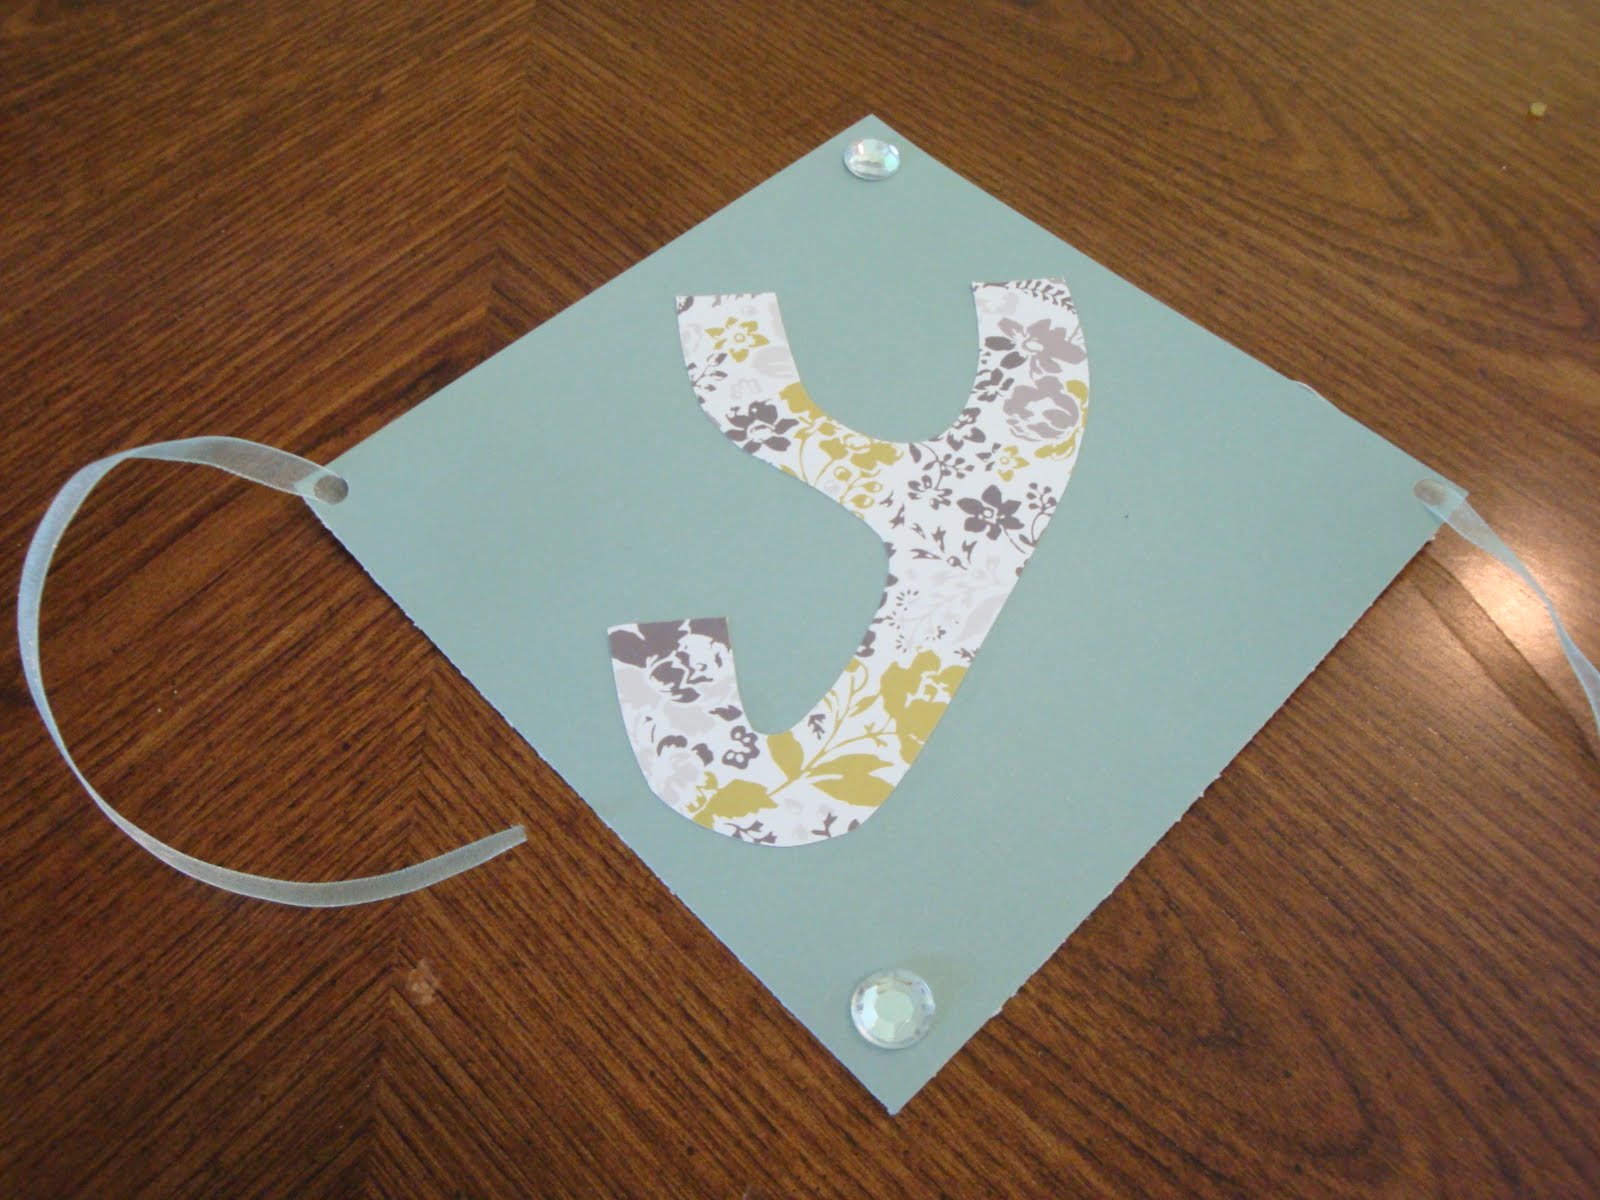
2. The paper is 12in x 12in. One sheet allowed me four 6in x 6in squares. With the amount of letters (16), that worked out to only 4 sheets of the background diamonds. I chose two different colors to alternate. I used my cutter to get exact measurements. I choose diamonds (squares) because this was my frist time and seemed the easiest measurement-wise. For those of you with Cricuts, the possibilites are endless!

3. After I cut 16 squares for the background, I looked through my paper pack and found two patterns that would look nice with the colors already chosen. I also cut those into 16 squares to help with letters later.

4. This is the step I forgot to document with my camera, sometimes us crafters just get on a roll and forget to stop!
Lettering:
1. Spell out all words on a scrap paper first, ya never know!
2. If you don't feel confident free-handing the letters, there are many stencils available online to print out.
3. Lay out your paper as you will be cutting them, especially if you are alternating patterns/colors.
4. I suggesting flipping the paper over and sketching the letter on the back, BACKWARDS. If this seems difficult, draw it normally on some looseleaf and attach it to your paper with a paperclip and cut through both.
5. When you have a duplicate letter (ex. three a's), stack your craft paper and clip together before cutting.
6. Continue on, but be diligent about checking your alternating colors so you don't mess up. In my case, I didn't have any extra paper so it was not an option!
7. Use a hole punch to create the space for the ribbon. (A cool shape would be sweet!)


5. Gluing letters: I'm sure there are many great craft glues out there, but as an Art Teacher (well, an unemployed one as of late), Rubber Cement is the best economic option for glueing PAPER TO PAPER. It is not water soluble so unlike white glue, it doesn't leave your paper all wrinkly, AND it dries clear and can be rolled off when it dries. Another advantage is that is is reposition-able, so if you can play around with your layout before it completely dries.
Housekeeping tip: Use an old magazine for your glue station. Once a page becomes gluey, flip to the next to ensure rubber cement doesn't make its way everywhere!

6. After glueing all the letters I added a little bling with some cheapy glue on rhinestones. I plan to hang this outside (weather permitting) and I hope it catches the sun.

7. One again, layout your letters and any extra elements you have to add to the banner. I added a green heart in between the two words. Another preparation tip: cut all your tape pieces ahead of time.

8. Pull out more than enough ribbon for your letters, and string on your last letter, first.
9. Pull the ribbon through and leave a long tail for hanging. To keep equal distance between letters, find something to measure on, or use a ruler. I used two lines on my table. Once they are lined up, flip and tape in place.


10. Continues with all your letters (check spelling along the way!), and ta-da! A home-made banner!
This project was super cheap. The only additional expenses I had was the rubber cement, ribbon, and rhinestones. Those came to around $8.00, but I did not use them all. In fact, I plan to make some more hanging decorations with "30" on them and use some more of my materials. I will update with pictures from the event in a few weeks to see the banner stretched to its full potential!
Happy Crafting!